Starting Seeds Indoors
Starting seeds indoors is inexpensive, fun, & so rewarding. There’s the anticipation of waking up every morning hoping you’ll see the first sprouts coming up in their tiny trays, followed by feelings of pride knowing you’ve kept your plants growing strong with a little TLC! We promise you don’t have to have a green thumb to enjoy your very own garden — Follow these simple instructions and you’ll be growing your own crops in no time!
So, what is Transplanting?
When you plant a pre-grown plant into the soil after last frost, it’s considered a transplant. The plants you buy from the nursery and the ones you start in trays are considered transplants. It’s best to transplant plants that have a longer growing season, to get a good head start on their development. If you plant correctly, transplants can be stronger and more resistant to weeds or pests than direct-seeded plants. You can also create a succession planting schedule with transplants, ensuring you’ll have a good crop all season long.
Good for Transplanting:
Tomatoes, Peppers, Eggplant, Celery, Collards, Kale, Broccoli, Kohlrabi, Leeks, Onions, Scallions, and more!
It’s Time to Get Started!
Do you have your supplies? (Here’s what you’ll need!) Ready to play with some high-quality dirt? Good! Let’s begin…
Step 1.
Fill your cell packs with soil. Don’t pack it in, just fill them up. You can sweep it across the surface of the containers to fill it evenly. The soil should be a little bit loose — roots need space to grow!
Step 2.
Water the soil so it’s thoroughly soaked. The volume will probably shrink to about half its size. Add a little more soil if necessary, so that each container is no more than ¾ full. Water again.
Step 3.
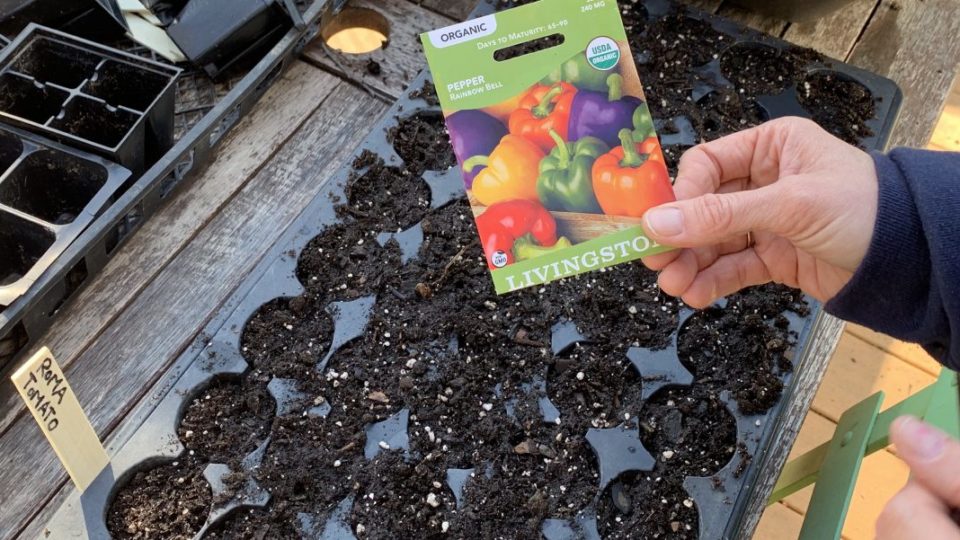
Choose your seeds! If you’re using grow lights, be sure to select similar seeds for each tray, as it’s difficult to manage different plant heights.
Step 4.
Look at the seed packet to see what the soil depth requirements are. Note that smaller seeds such as cherry tomatoes generally require a much shallower soil depth (⅛-¼” deep) than much larger squash seeds (1” deep).
Step 5.
Grab your dibber — A dibber is a pointed wooden stick used to make holes in the ground so that seeds, seedlings, or small bulbs can be planted. Pro Tip: No need to get fancy… A pencil or chopstick works great here!
Step 6.
Use your dibber to create holes in your container the depth your plant requires. If you plan to seed 10 plants, make 10 holes. It’s easier to keep track of your progress if you work plant-by-plant.
Step 7.
Double the quantity of plants you intend to seed. Carefully pour that quantity of seeds into a shallow bowl. (Watch out if you’re working outside on a windy day!) Then, put 2-3 seeds per hole. It’s easier to have extra plants in one hole than to waste the real estate.
Step 8.
Cover up the seeds with the appropriate thickness of soil.
Step 9.
Label your plants. Popsicle stick labels work great for starting seeds indoors in trays, but when you move the plants outside, you can have some more fun with plant markers… Check out some of these cool upcycled plant marker ideas!
Congratulations — It’s Party Thyme! (Get it?!)
If you’ve followed these simple steps to get your garden started, you should be seeing your first sprouts in as little as 7-14 days! And, if you’re ready to up your garden game, we’ve got a few more tricks of the trade to share…
- Water regularly with a gentle source, ensuring the soil is moist, but not soaking wet. Ensure your tray has good drainage—water should flow through it. And, if you have a heat mat, use it! You can put your tray right on top. At this point, sun isn’t actually as important as warmth & even moisture.
- If you use a windowsill: As soon as plants have sprouted, place your trays in a very sunny location, where they’ll receive a minimum of 6 hours of direct sunlight a day. Rotate trays at least twice a day to ensure your seedlings get maximum even sunlight coverage.
- If you use a grow light: As soon as plants have sprouted, suspend your grow lights directly above the seedlings, but not touching the plants. Raise your light as plants grow.
- Keep your plants inside until well after last frost, as they’ll be extra sensitive to cold temperatures.
- Harden off your transplants before planting them outside, or they’ll suffer shock. Gradually expose transplants to the outdoors, for increasingly lengthy periods of time. Start with one hour on a nice day, then two hours, & so on, until they’ve acclimated to overnight temperatures.
Phew. That was a lot!
If you enjoyed this how-to guide and are interested in more home and garden content, you should check out our Composting Blog or learn about Five Easy Climate Actions you can take at home!
How do I go solar?
The process for going solar is simple. It starts with filling out our get started form. You can do so by clicking the get started button. If you want to know more details about the process and the steps involved between signing up and turning on the power, click the button below to find out more.How Do I Go Solar